Best Smart Shiba is an Amazon Associate. We earn a small commission from qualifying purchases. For more information, visit my privacy policy page.
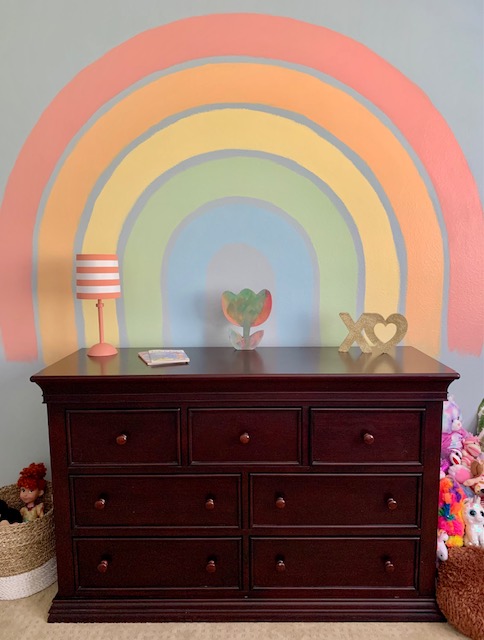
Cheap and easy DIY for you today! I painted a rainbow on my daughter’s bedroom wall, and I’ll show you how easy it is to accomplish! This was 100% inspired by Jessica of Celebration Stylist. Her IG page has a highlight of how she did her daughter’s rainbow wall. I have a tutorial here for you as well.
Below is the video tutorial of how to create the rainbow!
Supplies
Items you’ll need to create this rainbow: Chalk, long string, push pin or tape, sample size paints in the colors of your choice, paint brushes, drop cloth. This DIY is amazing because it’s so cheap! You only need sample size paints and that was plenty!
How To
We first painted my daughter’s full room in a blue/grey color. You do not need to paint the wall or room a color first.
- Decide where you want the center of the rainbow to be on the wall and tape a piece of string the wall (or use a push pin with string tied to it). The placement of where you will be taping the string should be about the middle of the height of the wall.
- I used a measuring tape to measure 6 inches up and marked that with a dot using chalk. Next, measure up another 6 inches and mark with a dot of chalk again. After that, measure a 1 inch gap and mark with chalk. Do that again until you have what will be 5 rainbow arches with 1 inch gaps in the center. My video above shows how to do this.
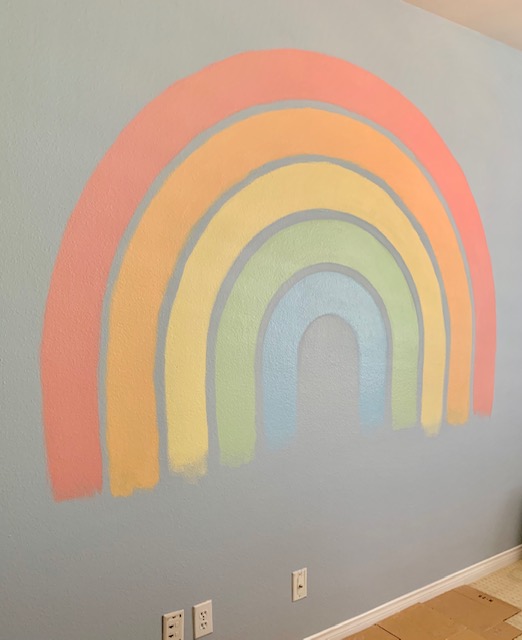
- Now you hold the chalk tightly with the string at the first dot of chalk. Draw on the wall with the chalk making the radius on both sides. Again, holding the string and chalk tightly. Do so for each dot going up the wall. The arches will get bigger and bigger. Below is a photo of what it will look like.

4. Now you can remove the string and start painting your rainbow arches. The chalk will kind of disappear as you go. You can wipe it away as you go as well. After the paint dries, or at least after the first coat of paint dries, you can use a damp rag to wipe away any remaining chalk. Paint a 2nd coat if necessary. You can also choose to continue the arches straight down to the baseboards if you’d like! I chose to just feather the ends mid wall, not the whole way down.
5. Getting a perfectly clean, straight edge on the arches is almost impossible since you are not using painter’s tape, so I chose to feather the arches as well. This just means you kind of dry brush the edges a little bit so it’s not a perfectly clean line. It’s a little more organic.