Best Smart Shiba is an Amazon Associate. We earn a small commission from qualifying purchases. For more information, visit my privacy policy page.
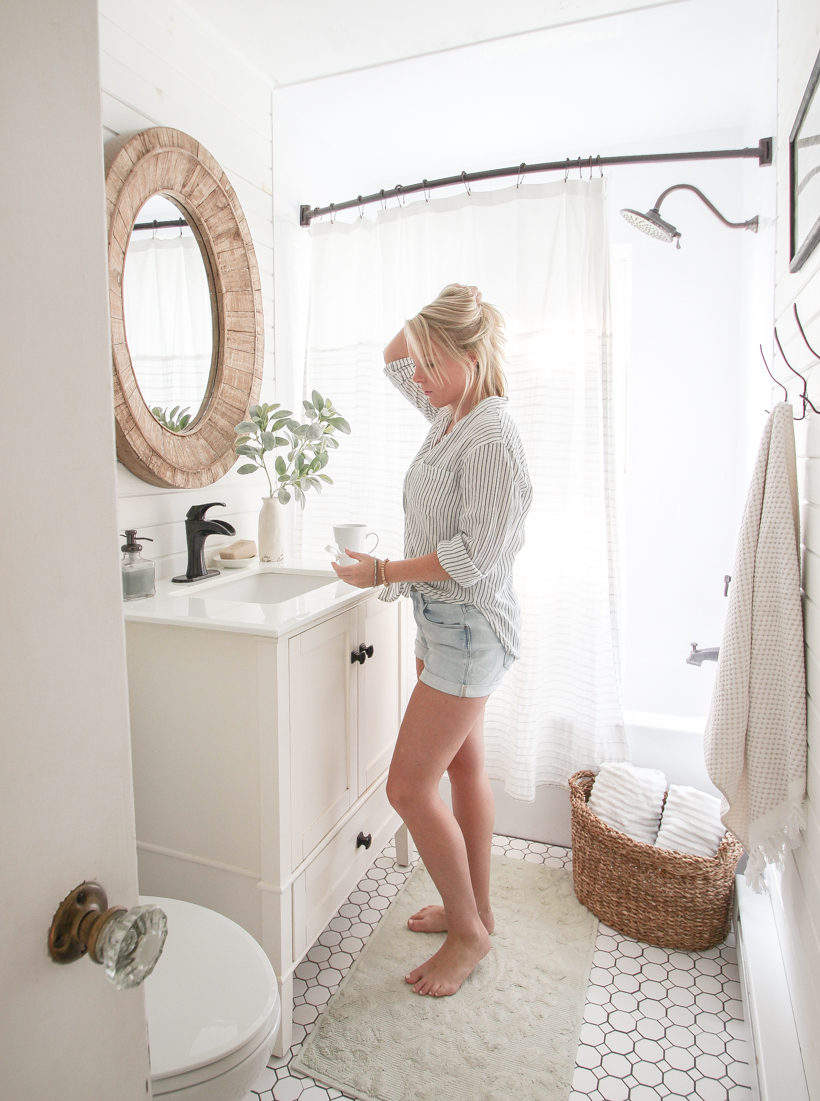
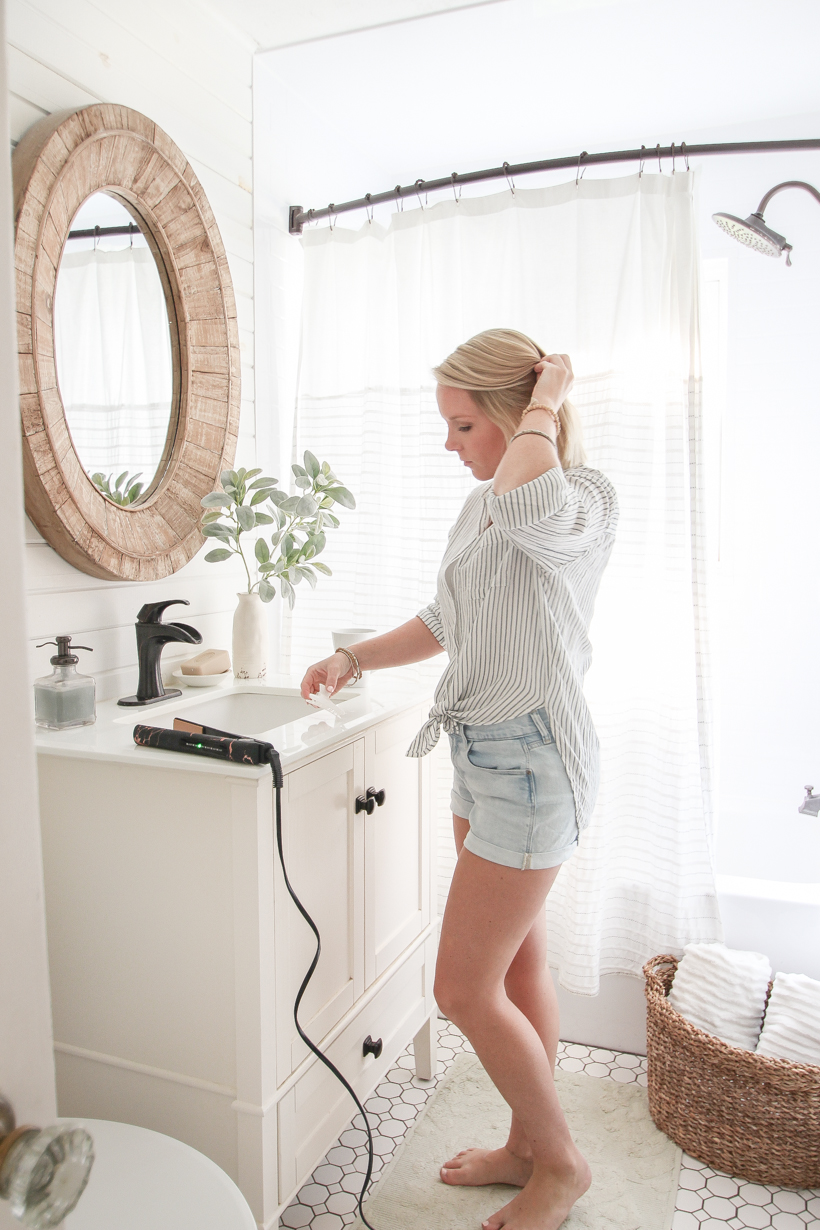
Ever since I chopped my hair last year I’ve been trying to find the best ways to style it, and it took me awhile to find things that work for my shorter do since I had been so used to long hair for so long. Because I can’t just pull it up into a messy bun anymore, I’ve had to get better at styling my hair down, and I have two main ways that I LOVE doing my hair now. One is loose, natural curls that I create with my straightener, and the other is relaxed beach waves using a new waver tool I just bought. I’ve received so many requests for a tutorial on how I style my hair, so even though this is way out of my comfort zone, I’m going to show both styling methods I use starting with how to curl hair with a straightener today!

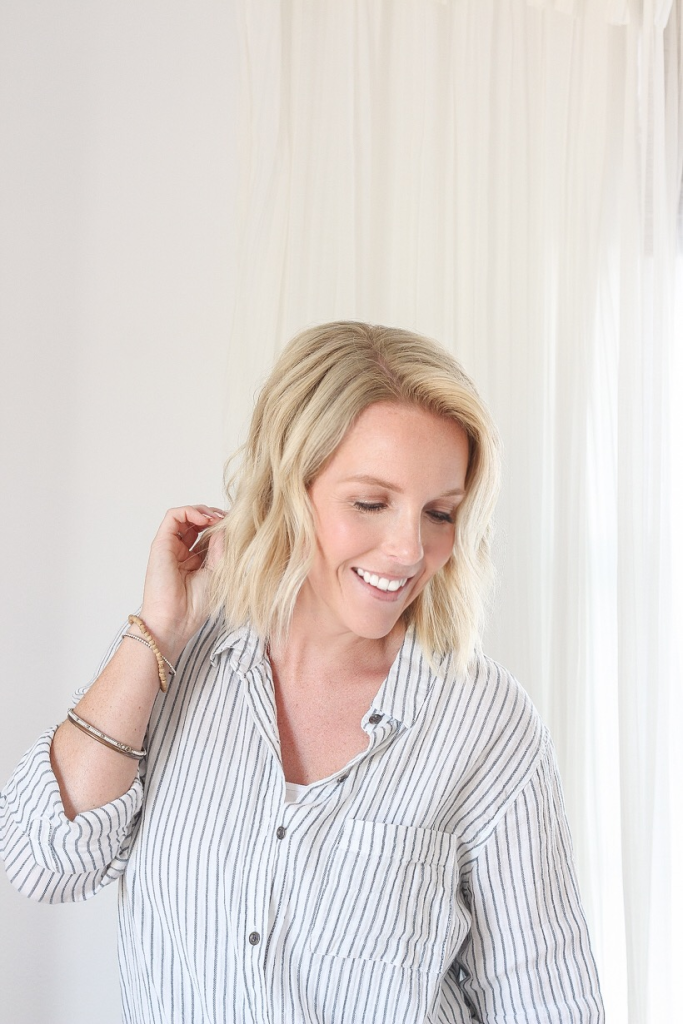
Here are the relaxed, natural, loose curls I was just talking about…

Let’s talk about why I love using my straightener to curl my hair…
I know, it sounds a little strange using a tool designed to straighten to add curl to your locks. But I love the flat iron method for a few reasons: 1) It creates flatter, more relaxed curls because it bends the hair around the straightener that is somewhat square instead of wrapping it around a circular curling iron. 2) It’s easier to create a more “messy” look by leaving the top and bottom parts of the hair shaft straight. (I’ll explain more on this in the tutorial below). It’s also very helpful for quickly smoothing frizzy ends if you run into that when curling your hair.
This method works well for any length of hair, I just never tried using my straightener vs. my curling iron until I cut it short. No matter what length your hair currently is, just follow the same steps shown below. Grab your straightener, and let’s do some hair!

Table of Contents
First, let’s go over the products I currently use…
Before I dry my hair I’ll spray a generous amount of TRESemme Heat Tamer to protect against heat damage. I’ve done a lot of research on pricier heat sprays, but this inexpensive spray does the job well and I’m not worried about using it generously to make sure my color-treated strands are protected. I just spray it all throughout my hair (mostly midshaft down to the ends) before blow drying and again on my dry hair before using any heat tools.
I used to use dry shampoo to help build volume at my roots, but I recently tried Not Your Mother’s Double Take Dry Finish Texture Spray and I’m HOOKED. It works 10x better than dry shampoo for adding volume and texture to my hair, and it made styling my curls so much easier. Once I curl all my hair, I spray this at my roots for extra volume and throughout the length of my hair wherever I want more fullness and to break up and blend all the individual curls. The texture spray gives your hair a bit of “grip” so that even squeaky clean, silky hair can be easily styled and have tons of body. But what I love most about this is that it also is a medium hold finishing spray, so as you get your curls how you like them, this spray helps hold them in place and allows movement without adding a sticky hairspray.
Speaking of hairspray, I finally found my holy grail favorite hairspray, and again, it’s not super expensive! L’Oreal Elnett Satin Extra Strong Hold Volume Spray is a humidity resistant hairspray with a super fine mist that leaves my hair feeling clean and soft and not at all sticky. It holds my curls and volume all day, but because the mist is so fine, you can literally brush through your hair at the end of the day and the hairspray disappears. This is especially important for anyone (including me) who goes a few days between washing their hair and needs to restyle it the next day! One thing to note, I’ve tried other holds from Elnett Satin, and the extra strong volume is definitely my favorite!
HOW TO CURL HAIR WITH A STRAIGHTENER
WHAT YOU’LL NEED:
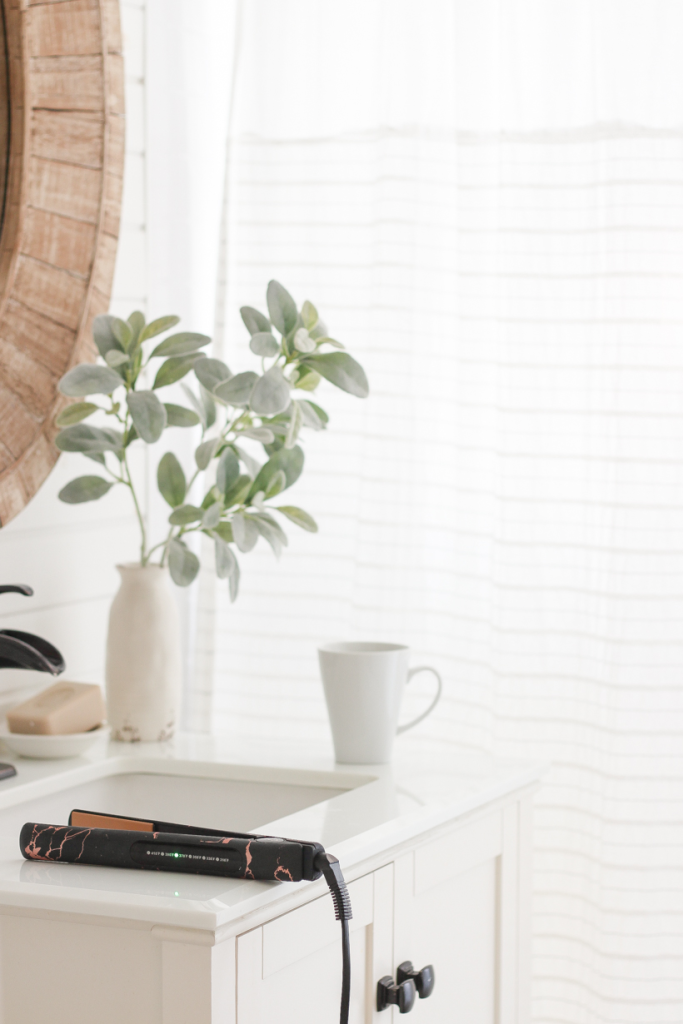
straightener/flat iron
brush
hair clip
heat protectant spray
texture spray
hairspray
INSTRUCTIONS:
First, brush through your dry hair and put the top two-thirds of your hair up in a clip. Generously spray a heat protector all over the bottom third of your hair.
Note: Depending on how thick your hair is, you may need to split it into more than 3 sections.

Starting an inch or two away from your scalp, clamp the straightener on a small section of hair vertically and rotate the straightener backwards 180º away from your face.

Slowly slide the straightener down the hair strand, keeping tension as you pull the straightener backwards. The key to getting a curl is keeping the straightener rotated backwards and clamped just barely loose enough for the hair to slide through. As soon as you finish the curl, use your fingers to help twist/twirl the hair in the direction you curled it. This helps the curl hold as it cools down and sets.
Tip: For a more natural, relaxed, messy look, leave the top inch or two and the very bottom of your hair uncurled. Focus on curling the middle of the hair strand and let the ends hang more relaxed.

Once you finish the entire bottom section with curls, mess them up a bit by separating each curl into two pieces or loosely running your fingers through the curls. You don’t want to undo the curls, you just want to separate them so you don’t have such divided pieces.

After separating the curls, spray your hair with the texture spray to add extra fullness and help fluff up the curls. This will also help hold them in place all day without making them stiff. I also like to tease the ends with my fingers by holding the hair in one hand and gently pulling the hair upwards with the other hand.
Once you are finished with one section, let down the next (I usually do two more sections on top) and repeat the same process: heat spray, curling, separating, and adding texture. Once you have all the curls styled how you like, spray a little bit of hairspray to help lock the curls into place.

A few tips:
When I’m curling the very top layer around my face, I usually do these curls even looser, leaving more of the hair straight at my roots and on the ends. I like the curls around my face to be much softer than the rest.
Don’t be afraid to go back and re-curl any pieces you don’t like once you have everything curled. If a piece looks too straight, go ahead and curl it again, making sure you have the straightener clamped tight as it is rotated backwards. If the opposite happens and you have one curl that is way tighter than the rest, gently run your straightener through the hair with only a slight rotation backwards to help relax the curl a bit.
Curled hair like this is also a great base for other hairstyles like pulling half of it up in a bun or pulling longer hair in a ponytail with beautiful, loose curls.
Watch how I curl my hair with a straightener:
And that, my friends, is how I curl my hair! I hope watching the video and having the steps broken down with photos is helpful, and I really hope this gives you a new way to style your gorgeous locks! If you have any questions, let me know, and I will also be sharing this video on Instagram stories and saving it in my highlights for quick and easy reference, so make sure you’re following me there!
Next day hair:
I’ve been trying to go a few days in between washes to be a little more gentle on my hair, and it also makes getting ready in the mornings so much quicker and easier. Here is how I style these curls the next day:
First, I will brush the curls out before I go to bed at night. As I mentioned before, the hairspray I use is super fine and brushes out really easily without ripping through your hair. Then in the morning I’ll use a little bit of dry shampoo on my roots if needed (my hair doesn’t get very oily). Some of the curl will still be in my hair in the morning, so most days I’ll only re-curl the top two layers using the same method above: always use heat spray, curl, separate, and texture spray. Your hair will need less texture spray than the first day with clean hair because it already will have some of that grip and texture in it.
If I’m not liking the way the curls look the next day, sometimes I will pull it out of my face a bit by putting the top half in a bun or ponytail, pinning a few pieces back with a bobby pin, or doing a braid around my face. You’ll find that day two hair is much easier to play with because it already has some product and added texture to it!

Stay tuned for part two where I show how to get relaxed easy beach waves!
Thanks so much for visiting today, sweet friends! xoxo Liz