
Best Smart Shiba is an Amazon Associate. We earn a small commission from qualifying purchases. For more information, visit my privacy policy page.
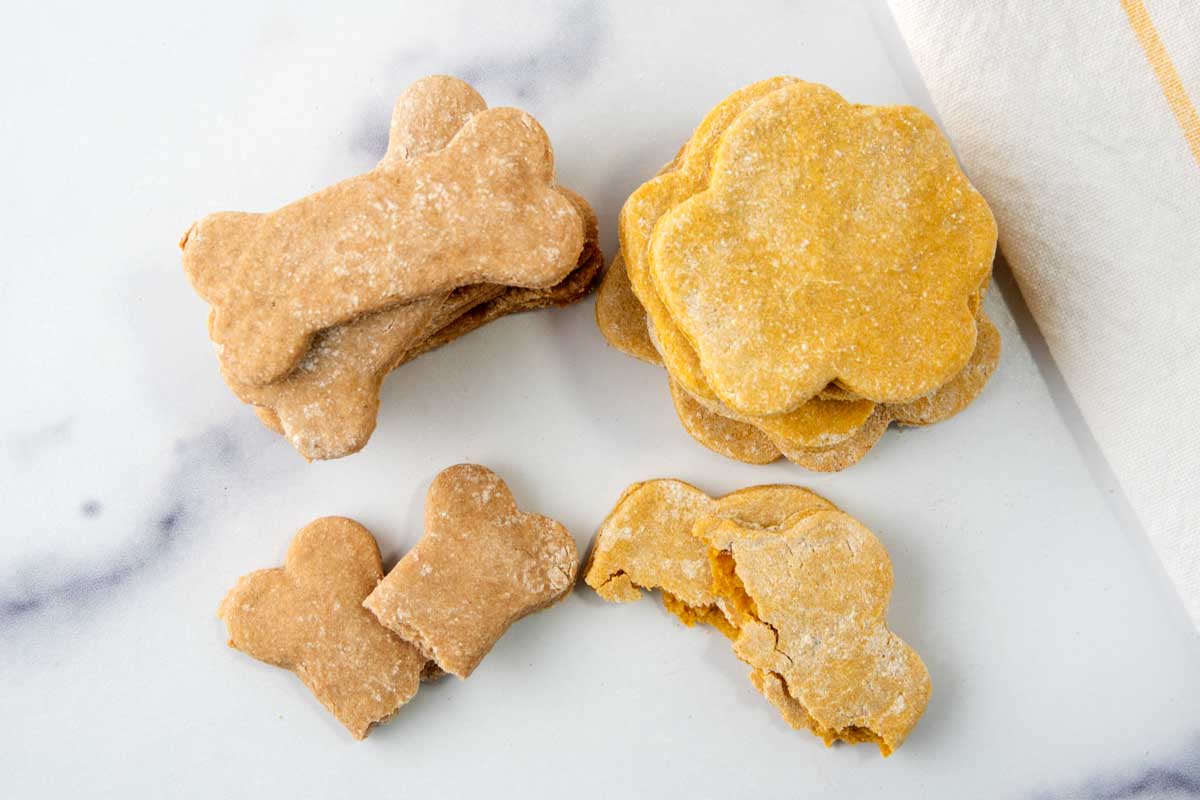
Baby Food Dog Treats are a tasty snack for your furry friend! This 2 ingredient dog treat recipe can be made in a variety of flavors. Use fruit, vegetable, or meat baby food to make these yummy dog biscuits.
There is nothing quite like the feeling of making homemade dog treats. And what’s better than treats with just two ingredients? Keep reading to find out how to make this healthy treat.
Table of Contents
Why You’ll Love This Baby Food Dog Treats Recipe
This easy recipe is perfect for busy pet owners. This homemade dog treats recipe can be made with lots of flavors, so your fur babies will never get bored with them.
Plus, since it’s such a simple recipe, you’ll be able to make your own dog treats without having to worry about what is in store-bought treats.
Benefits of Baby Food for Dogs
There are many benefits of using baby food to make dog treats. Here are a few:
- Baby food is formulated for infants with delicate digestive systems, which makes it easy to digest for dogs with sensitive stomachs, digestive issues, or a special medical condition.
- Baby food contains a wide range of nutrients that dogs need including protein, carbohydrates, healthy fats, vitamins, and minerals.
- Baby food comes in a variety of flavors, so you can easily find one your dog loves.
Read my article about dogs eating baby food for more information.
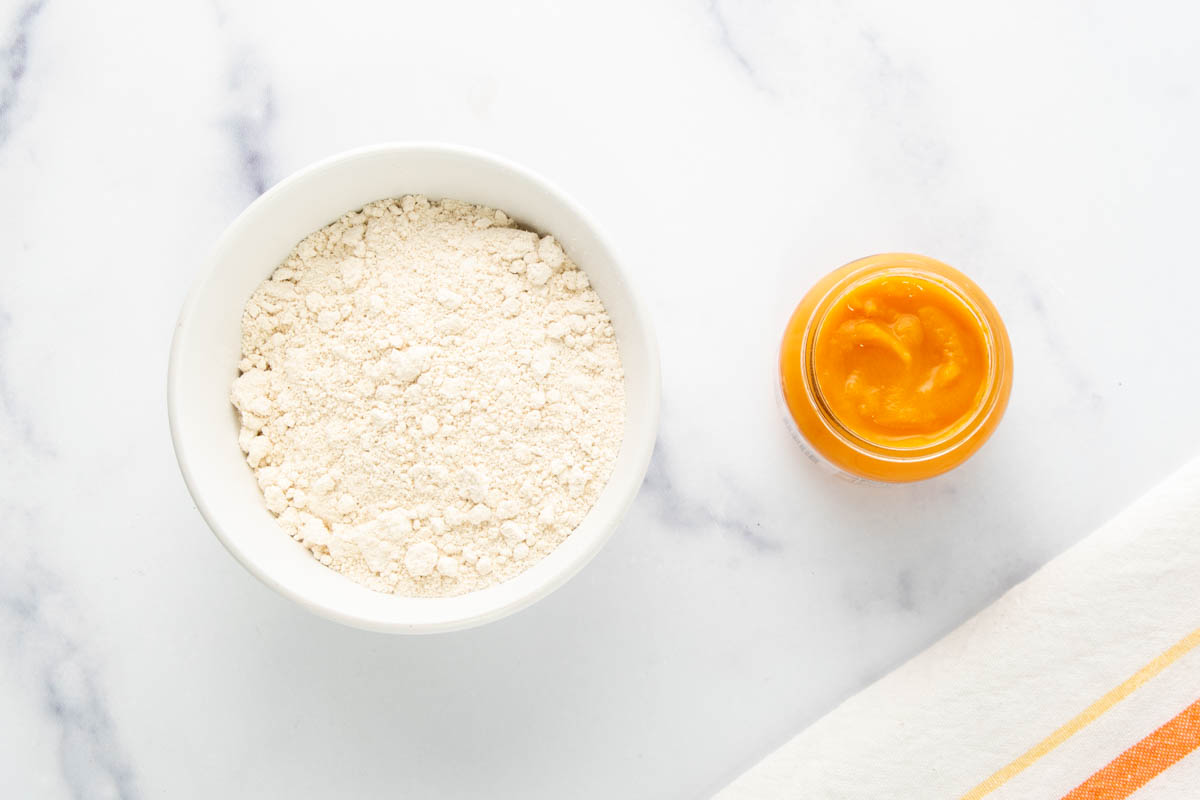
2 Ingredient Dog Treats
Seriously, yes, just 2 simple ingredients are all you need for making dog treats. You can get both of them at any grocery store.
The full recipe with the quantity for each and step-by-step instructions are in the printable recipe card below. Here’s what you need:
- Flour
- Baby Food
If you want to make organic dog treats, you’ll need to use organic ingredients.
Baby Food Flavors Dogs Love
There are so many different flavors of baby food which is why these treats can have lots of flavor variations. Here are some of the ones dogs enjoy the most:
Fruit
- Apple
- Banana
- Berry
Meat
- Beef
- Chicken
- Turkey
Vegetables
- Butternut Squash
- Carrot
- Green Bean
- Peas
- Pumpkin
- Spinach
- Sweet Potato
- Zucchini
Flavors and Ingredients in Baby Food to Avoid
Not all baby food is safe for dogs. Some contain ingredients that are harmful or toxic to dogs. So check the label to make sure these foods are not on the ingredients list:
- Artificial sweeteners, especially xylitol.
- Avocado
- Citrus including lemon juice
- Garlic or garlic powder
- Grape
- Onion or onion powder
Ingredient Substitutions
Flour – I used oat flour to make these treats. You can use all-purpose or whole wheat flour. Other options are buckwheat flour, chickpea flour, millet flour, quinoa flour, and spelt flour. For dogs with wheat allergies, brown rice flour is a great choice. You can also use baby oatmeal cereal instead of flour.
Baby Food – Instead of baby food, you can use plain pumpkin puree, unsweetened applesauce, or your own vegetables cooked and pureed. Broccoli, cauliflower, green beans, sweet potatoes, butternut squash, and carrots are great veggies to use.
Ingredient Additions – You can add ¼ cup of grated carrot or apples. You can also add a heaping tablespoon of chopped fresh herbs. Adding curly parsley and mint makes them great dog breath treats.
Equipment Needed
You probably already have the equipment you need to make the treats. Just in case, here’s a handy list:
- Measuring Cups
- Mixing Bowl
- Mixing Spoon
- Rolling Pin
- Cookie Cutters for Dog Treats
- Baking Sheet
- Parchment Paper or Silicone Baking Mat
- Wire Cooling Rack
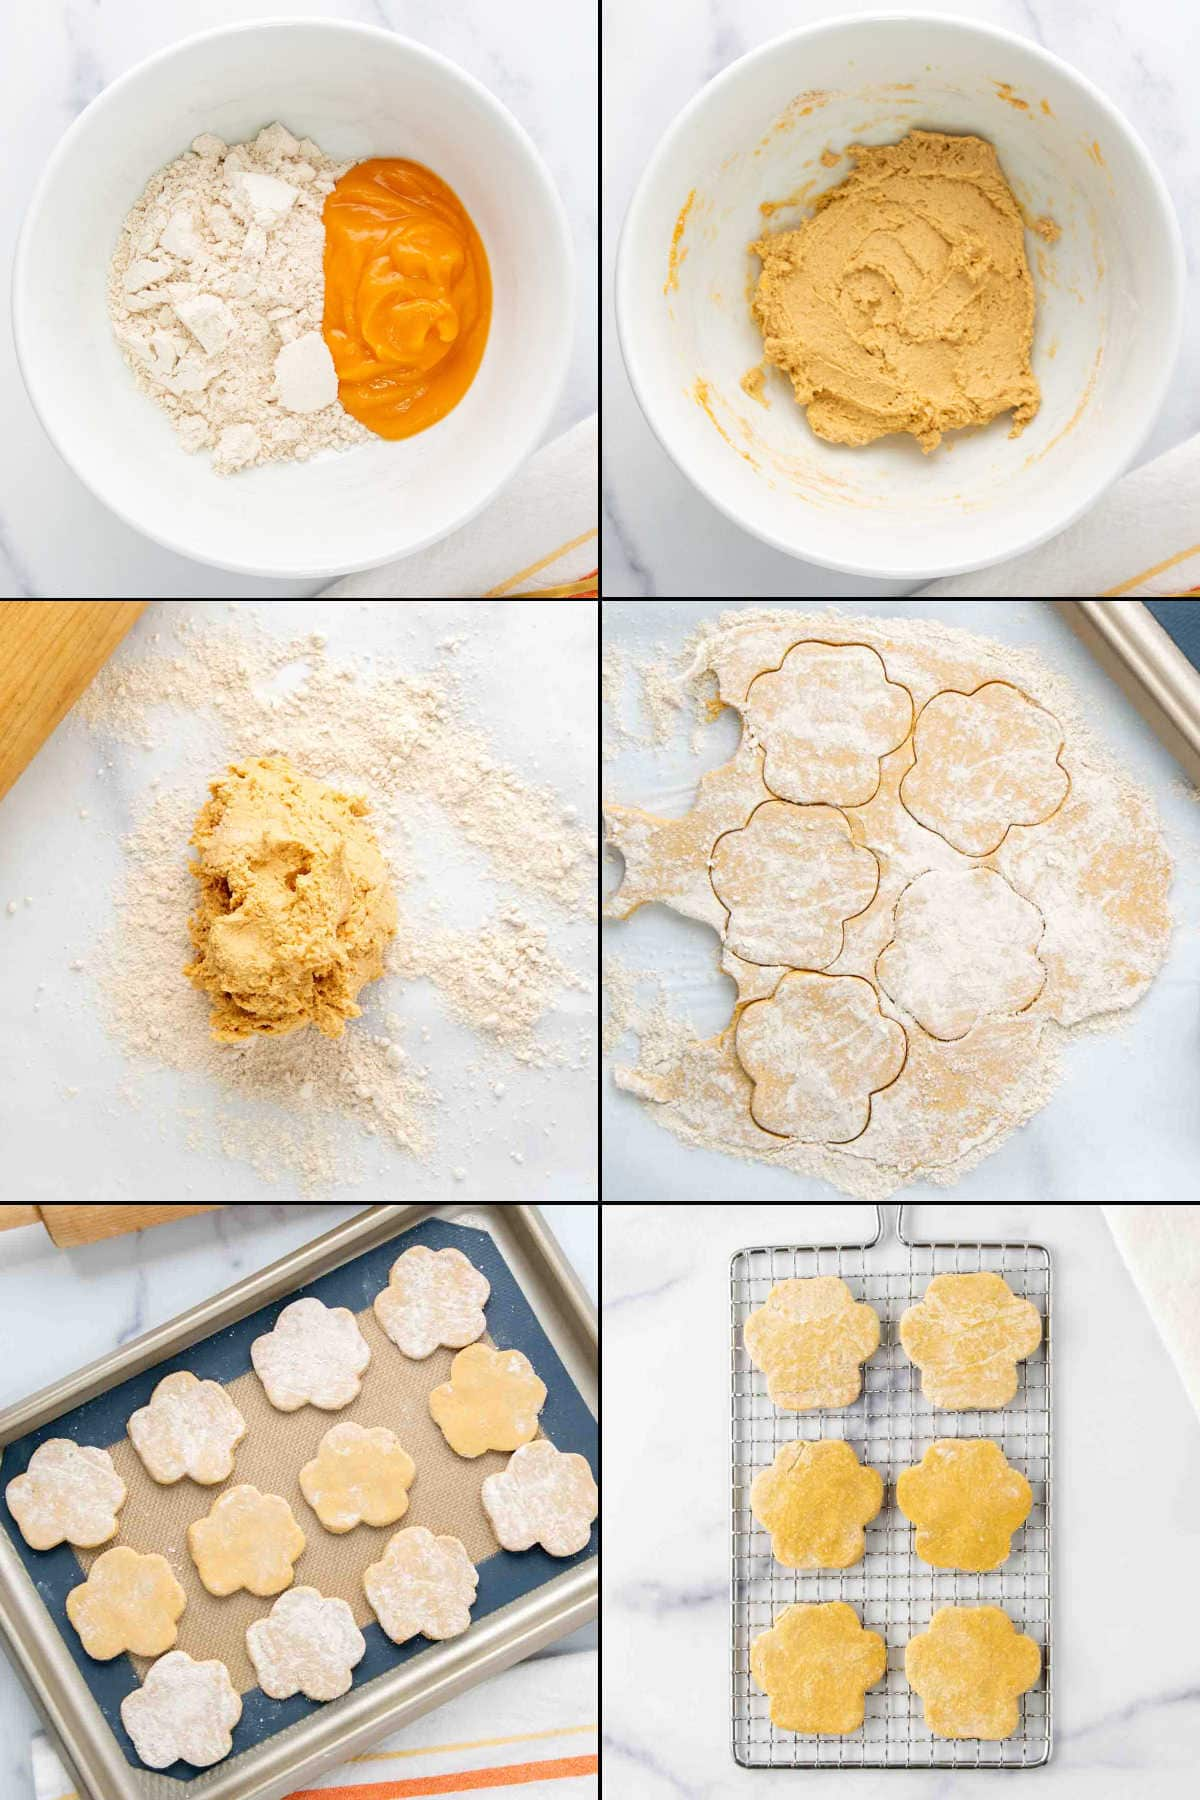
How to Make Baby Food Dog Treats
- Place the flour and baby food in a medium bowl.
- Stir to combine. Add a little extra flour if the dough is sticky. Add more baby food or a little water if the dough is too dry or crumbly. You want a rollable and somewhat stiff dough.
- Place the dough on a lightly floured surface.
- Use a rolling pin to roll out the dough.
- Use cookie cutters to cut out the treats and place them on a baking sheet lined with parchment paper or a silicone mat. You can gather dough scraps, re-roll, and cut until all the dough is used.
- Bake at 350°F for 20 minutes.
- Transfer the baked treats to a wire rack to cool to room temperature.
Recipe Notes and Preparation Variations
Depending on the flour you use, the dough can be either too moist and sticky or dry and crumbly. You’ll need to add either more flour or more liquid to make a rollable dough.
If you don’t have cookie cutters, you can use a pizza cutter to cut the dough into squares or rectangles. Or you can roll small balls and flatten them with a fork, glass, or spatula.
You can also press the dough into silicone molds and bake. Remove the treats from the molds and place them on a cookie sheet. Bake until they are dried and crunchy, about 10 minutes.
For extra crunchy treats, turn off the oven and leave them in the oven for about 30 minutes.
The number of dog treats this recipe makes depends on the size of the treats. The nutrition information in the recipe card is based on 20 treats.
Serving Size
How many homemade baby food dog treats should you give to your canine companion? That depends on what else your dog ate that day because you need to consider the entire calorie intake as a whole. Being mindful of a dog’s food consumption is just as important as it is with humans.
It also depends on the size of your dog. Smaller dogs need fewer calories than larger ones. Maintaining a dog’s healthy weight is important, so keep that in mind when feeding your dog treats in addition to regular food.
Dogs also shouldn’t consume too many carbs, including ones from healthy treats. For this reason, I suggest only giving your pup one treat per day. Or perhaps two on special days.
How to Store
Keep the treats in a paper bag in a cool, dark place. A kitchen cabinet or pantry is a great storage place.
Storing the treats in an airtight container can cause them to soften and they won’t be as crunchy.
The treats will last up to 2 weeks. For longer storage, you can freeze them in plastic freezer bags for up to 4 months. Just note they’ll be softer after thawing.